Here is a post with all of my “notes” under recipes. This will get added to as I add more recipes.
Corn Allergy Girl Where’s the Corn in Foods has a way more indepth break down of everything corn related if you want to check that out.
Baking Powder
Corn & Grape Allergy – Baking powder is not corn free. Find corn-free if need be. Cream of tartar is made from grapes, if you have a grape allergy; you just need 1/4 of powder for baking soda and remainder in apple cider vinegar.
Brown Sugar
Corn Allergy – depending on sensitivity, you may need to make your own with safe molasses and sugar. Alternatives include coconut palm sugar.
Butter
Dairy & Corn Allergy – Depending on allergies use whatever butter you need. There are several options: MELT, Earth Balance, Miyoko’s, coconut oil, goat butter). Beware of salt in butter if corn allergic (look for sea salt/unsalted), also be careful of the diet of the cows. Many of vegan butter have corn derivatives.
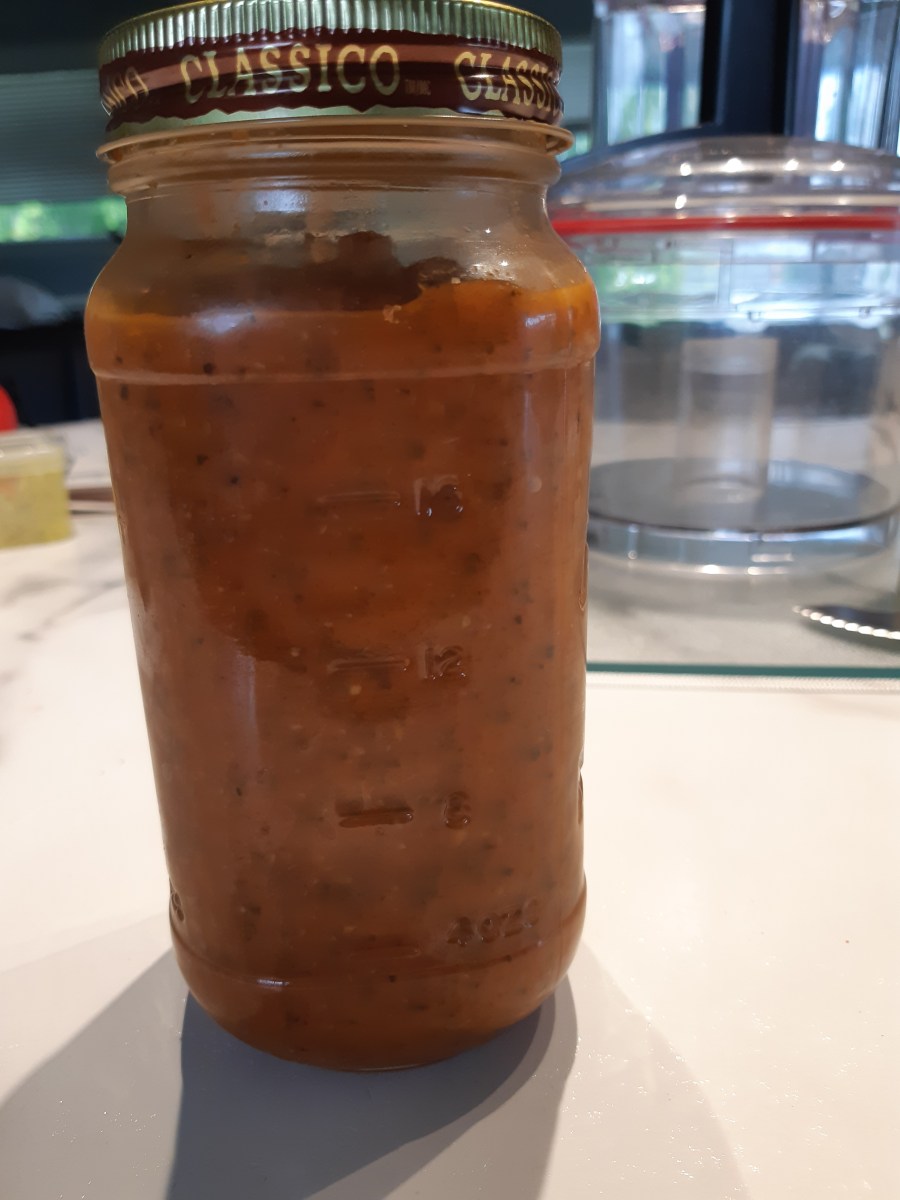
Canned tomatoes
Corn Allergy – Ensure that the cans are free of citric acid if you are corn free. We decided to can tomatoes this summer instead of buying store bought.
Chicken
Corn Allergy – The carcass may be sprayed with citric acid or some other anti-bacterial. The poultry may be packaged on a Styrofoam tray containing a citric acid-saturated soaker pad underneath the poultry, and then wrapped with shrinkwrap or plastic wrap. A whole chicken or turkey is usually wrapped in plastic. The inside of the packaging may contain cornstarch, to keep the poultry from sticking to the packaging. More on corn free meat processing. In addition they are typically fed corn as part of their diet.
Chocolate Chips
Corn Allergy – During the dutching process to create cocoa, it is treated with ph balancing agents, derived from corn. It is difficult to find safe cocoa or chocolate chips. A couple of corn lite options: Cuisine Camino, Equal Exchange.
Coconut Milk
Corn allergy – ensure coconut milk is additive free
Egg
Corn allergy – Eggs are washed with a commercial cleaner that is full of corn products. The egg shells are porous and absorb the cleaner, so many with corn allergies have issues with eggs. Less common is to have issues with eggs due to what the chickens are eating.
Egg Replacer
Corn allergy – I have found that many of the egg replacers out there use corn starch, so beware which one you buy. Bob’s Red Mill works as a great replacer, however it has a lot of cross contamination and isn’t recommended at all with corn allergies. You could also use a flax egg as an alternative.
Gelatin
Corn allergy – gelatin needs to be unflavoured and not made from vegetables to truly be corn free. I use a beef gelatin.
Grease
Corn & Soy Allergy – PAM is full of contaminated corn oils and soy oil. I use safe oil & grease with my hands. You can buy oil mister bottles and fill with your own safe oil as well.
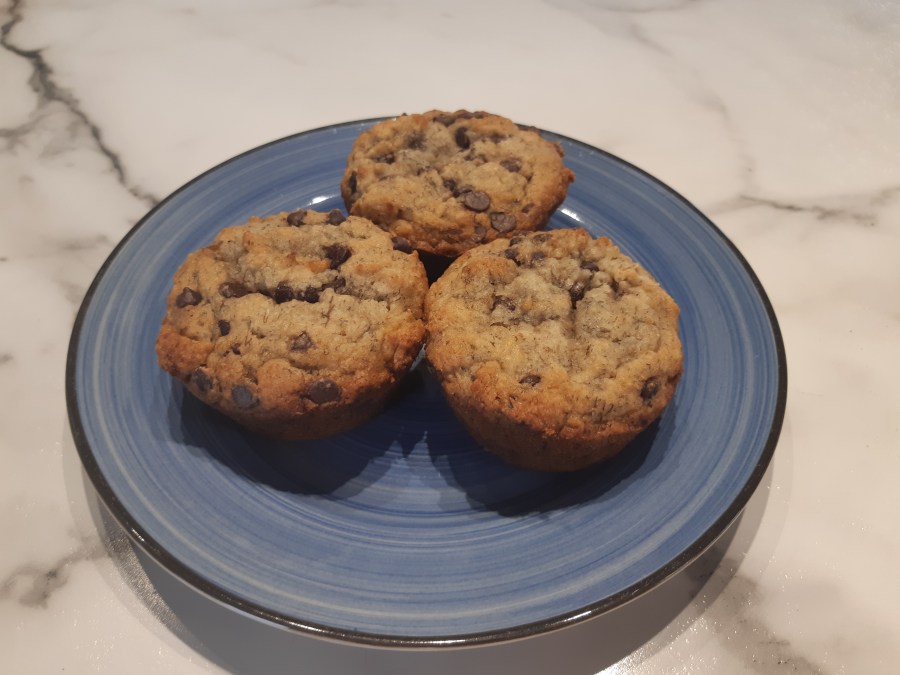
I don’t line my muffin pans as it isn’t needed. They hold well on their own, and often they are too greasy to stick anyways.
Powdered sugar
Corn Allergy – Powdered sugar/icing sugar contains cornstarch to prevent clumping. Wholesome Organic Icing Sugar uses tapioca starch instead. This is an ok option for corn lite, but trial carefully as there is a lot of cross contamination. It is possible to make your own. This is what we do, it is just time consuming.
Salt
Corn Allergy – Many that are allergic to corn are sensitive to iodized salt as corn is used in the processing. Sea salt is better, but some are still quite sensitive and require brand specific salt.
Spices
Corn Allergy – Dried spices can be treated with a corny preservative. Penzey’s and Frontier single ingredient spices are well tolerated.
Vanilla
Corn Allergy – Vanilla is made with alcohol, often corn, you may need to make your own
Vinegar
Corn Allergy – it is important to avoid white vinegar; any safe vinegar will work including rice vinegar, apple cider vinegar, or coconut vinegar
Vegetable oil
Corn Allergy – Don’t use “vegetable oil” as it can be corn or soy oil. Canola oil is one of the worst oils for cross contamination with corn. Olive oil isn’t always 100% olive oil either, so if you are sensitive, be careful. If bottled in plastic, the bottles can be corn-derived. The oils can be rendered corny during refining. Need to determine what is used during the extraction process (alcohol or other medium?), and if any defoaming agents are used. Citric acid can be used as a degummer as well in safflower, sunflower, canola (rapeseed), soy, and flax oil.
Whipping Cream
Corn Allergy – When looking at canned coconut milk or cream be sure to check for gums. The one I buy is gum free as corn is used to make almost all the “gum” ingredients
Xanthan Gum
Corn Allergy – xanthan gum is iffy with corn allergies due to how they make it. We made the switch to psyllium husk fibre in our house.
Yeast
Corn allergy – avoid all yeast that contains any additives, most contain ascorbic acid, which is derived from corn. Red Star Active Dry Yeast is the only one I believe that is free of any additives, it has to be the individual single dose packages.